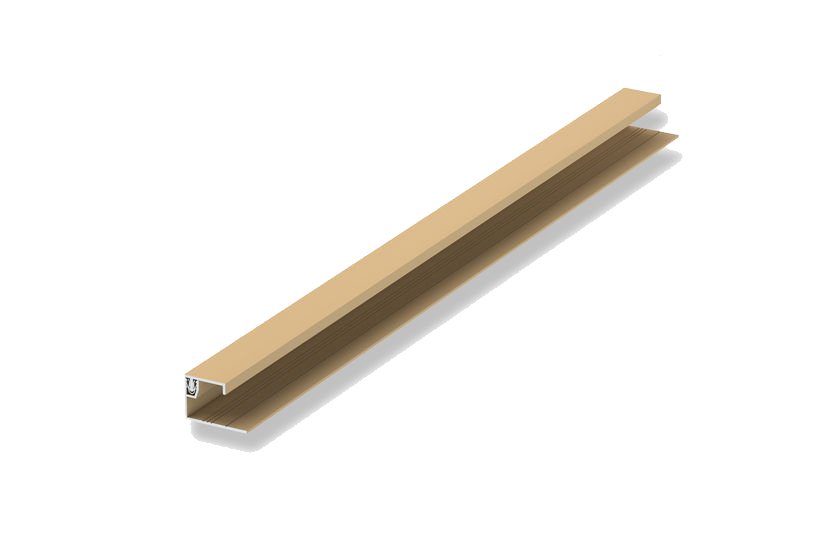
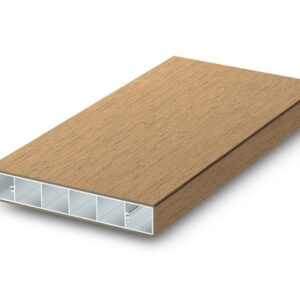
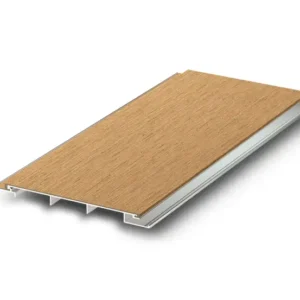
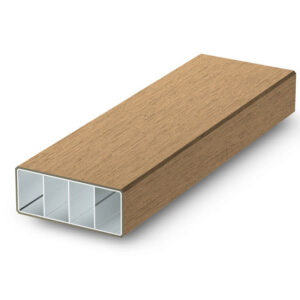
The Geolam 2-Piece Starter (J-Trim 9321) is a finishing trim component designed for use with Vertigo 5010 cladding and soffit installations. The two-part system anchors to the wall or substrate, allowing Vertigo boards to terminate cleanly at perimeter edges while concealing exposed fasteners for a finished appearance. Part A is fastened to the wall first, establishing a clean starting line for the cladding run, while Part B clips into place afterward to hide the screw heads along the board’s leading edge. The result is a tidy, professional transition wherever Vertigo cladding meets a window, door, soffit return, or other perimeter condition. Available in all four standard Vertigo colors (Teak, Moleskin, Rosewood, and Ebony), the J-Trim installs quickly with color-matched metal clips placed every 16″ along its length, requiring no special tools beyond a screwdriver and rubber mallet.
✓ Matches Vertigo 5010 Finishes
✓ Conceals Exposed Fasteners
✓ Stocked in the USA
Key Specifications
| Use |
Perimeter starter/finishing trim for Vertigo 5010 |
| Clip Spacing |
Every 16″ (40 cm) |
| Material |
Powder coated aluminum (matches Vertigo 5010) |
| Available Colors |
Teak, Moleskin, Rosewood, Ebony |
Available Finishes
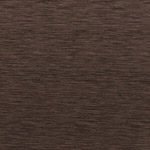
Color-matched to Vertigo 5010 standard colors. Sanding finish and shading may vary between production runs.
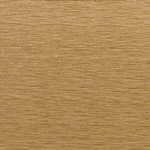 Teak
Teak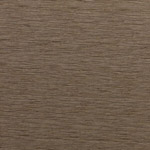 Moleskin
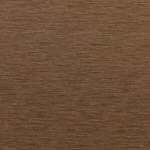 Rosewood
 Ebony
Ebony
Installation Overview
| Fastening Part A |
Fasten Part A directly to the wall with stainless steel screws (recommended) before installing the Vertigo cladding. |
| Securing cladding |
Screw the Vertigo 5010 board through the J-trim into the wall every 24″ on center. |
| Attaching Part B |
Attach the metal clips onto Part B every 16″ (40 cm), then tap Part B into Part A with a rubber mallet to complete the assembly. |
| Result |
Part B conceals the exposed fasteners along the perimeter edge, giving the installation a clean, finished appearance. |
Frequently Asked Questions
| What is the J-Trim used for? |
It’s a perimeter starter and finishing trim used with Vertigo 5010 cladding and soffit installations, concealing exposed fasteners at the top and bottom of a wall or soffit edge. |
| What colors are available? |
Teak, Moleskin, Rosewood, and Ebony, matching the four standard Vertigo 5010 colors. |
| How is it installed? |
Part A is screwed to the wall first, then Vertigo boards are fastened through it. Part B is clipped on every 16″ and tapped into place with a rubber mallet to hide the screws. |
Downloads & Documents
Frequently Purchased Together
Complete your Vertigo 5010 installation with these products.
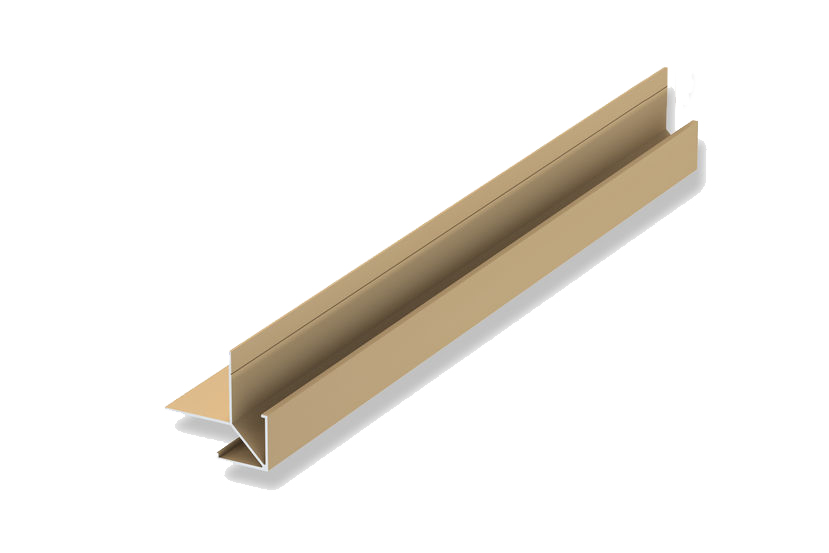
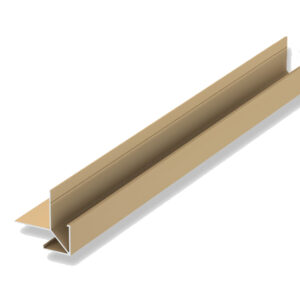
Outside Corner (9322)
Pre-formed outside corner trim for a clean, finished 90° transition without mitering boards on site.
View Product → |
|
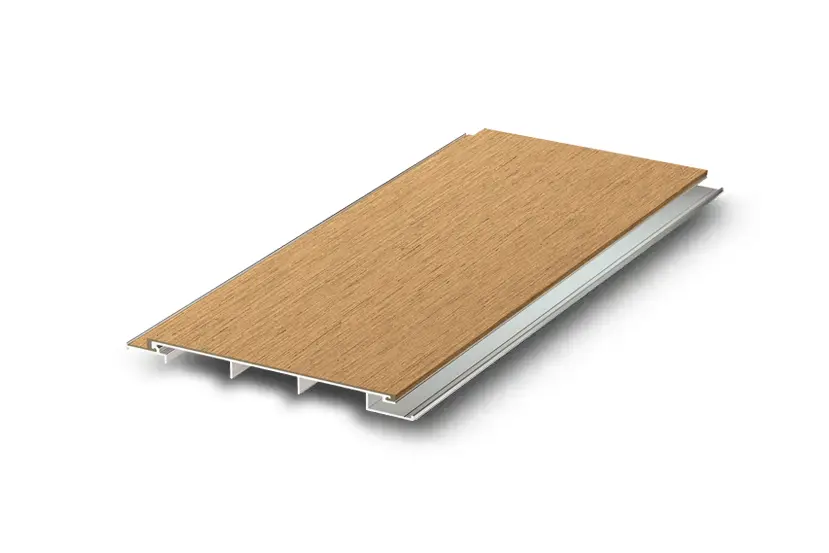
Vertigo 5010 Cladding & Soffit
The main Vertigo 5010 cladding board this trim is designed to complement.
View Product → |
|